Audio and Electrical Engineering
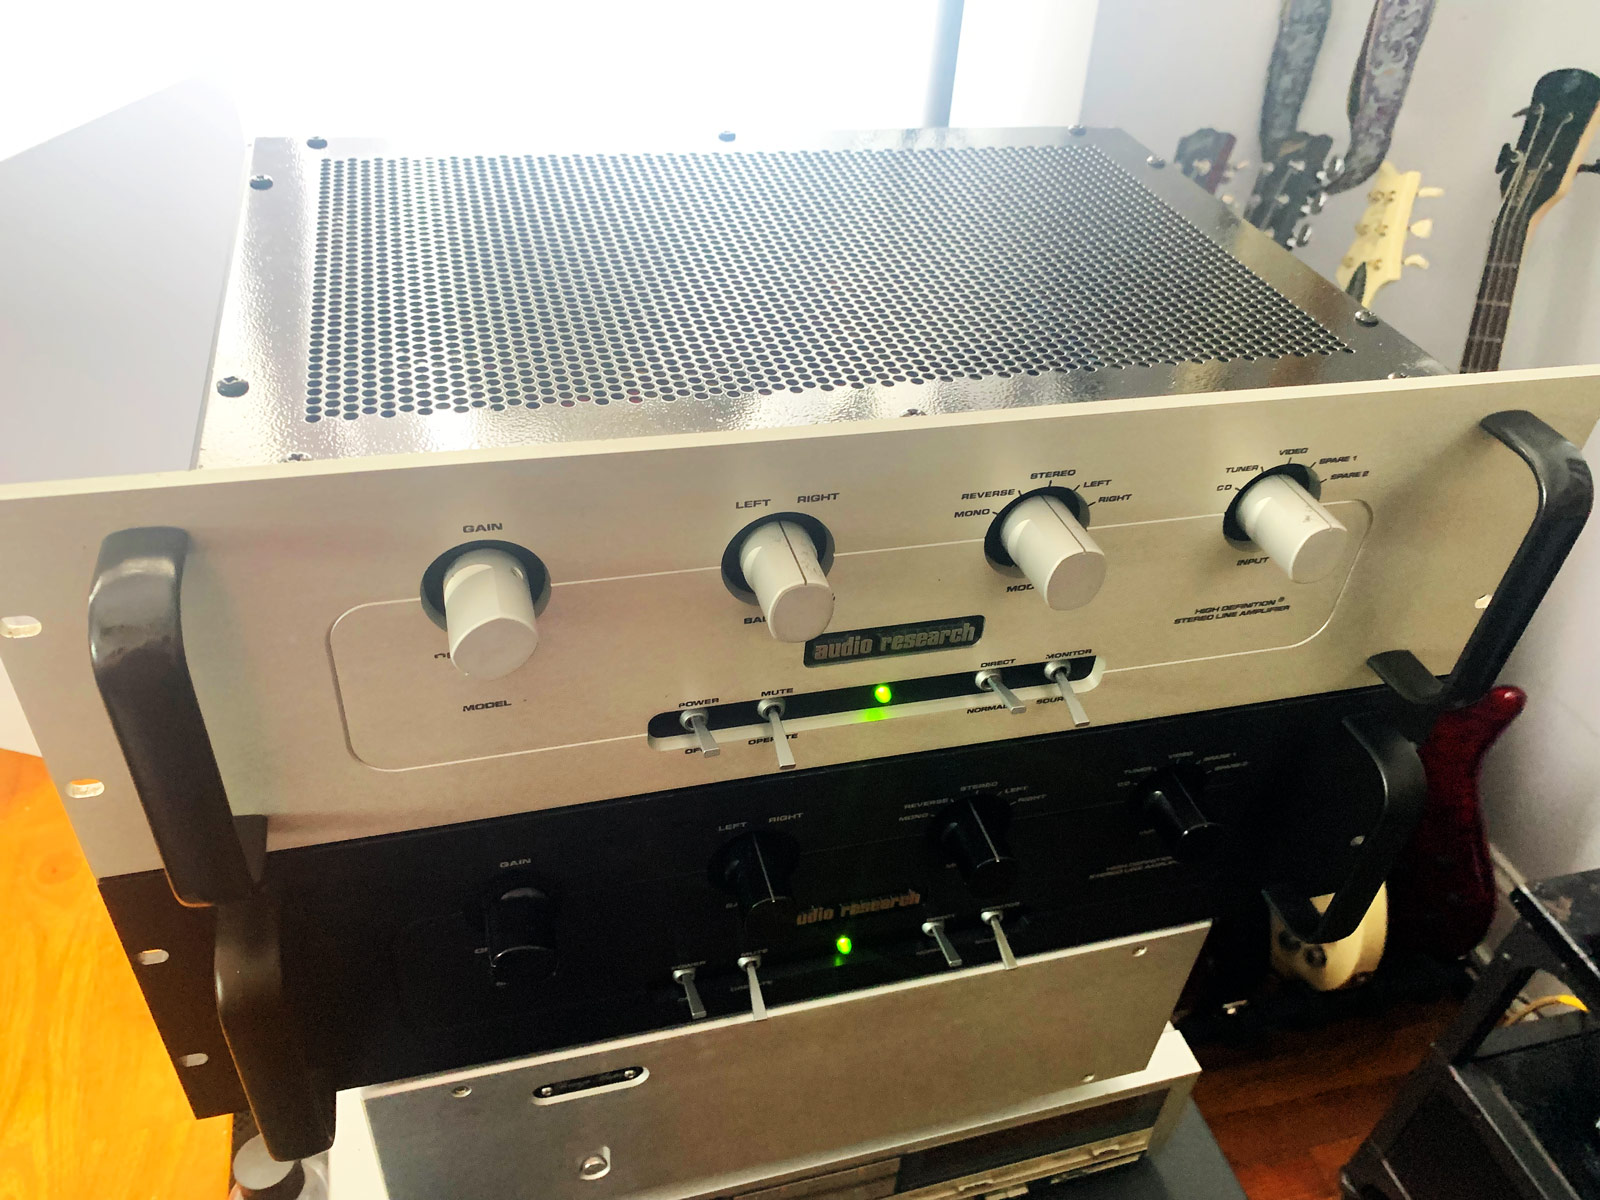
Audio Research LS1 Preamp Restoration and Enhancement – Silver and Black
Audio Research LS1 Preamp Restoration Project and Can DIY Improve It?

You can view and interact with this project which originally appeared at diyAudio.com
Part 2 is an Audio Research LS7 preamp restoration and compare. Click here to view.
I have started on building an entirely new audio system for my living room. Transformers and many parts for my hand built monoblock amps are on back order or delivery dates months out because of the pandemic. So I turned to the preamp I am going to use with them.
I bought 2 Audio Research LS1s (same as Audio Research SP9 minus built-in phono stage; not needed as hand built phono is the plan) for the project. The LS1 is a hybrid FET/Tube/MOSFET design, using a 6922 in the tube role. It is fully regulated on the 400V+ high-voltage B+ as well as the heater supply. I know there is a huge debate over this, but I am quite fond of the hybrid idea to leverage the best of each type of component.
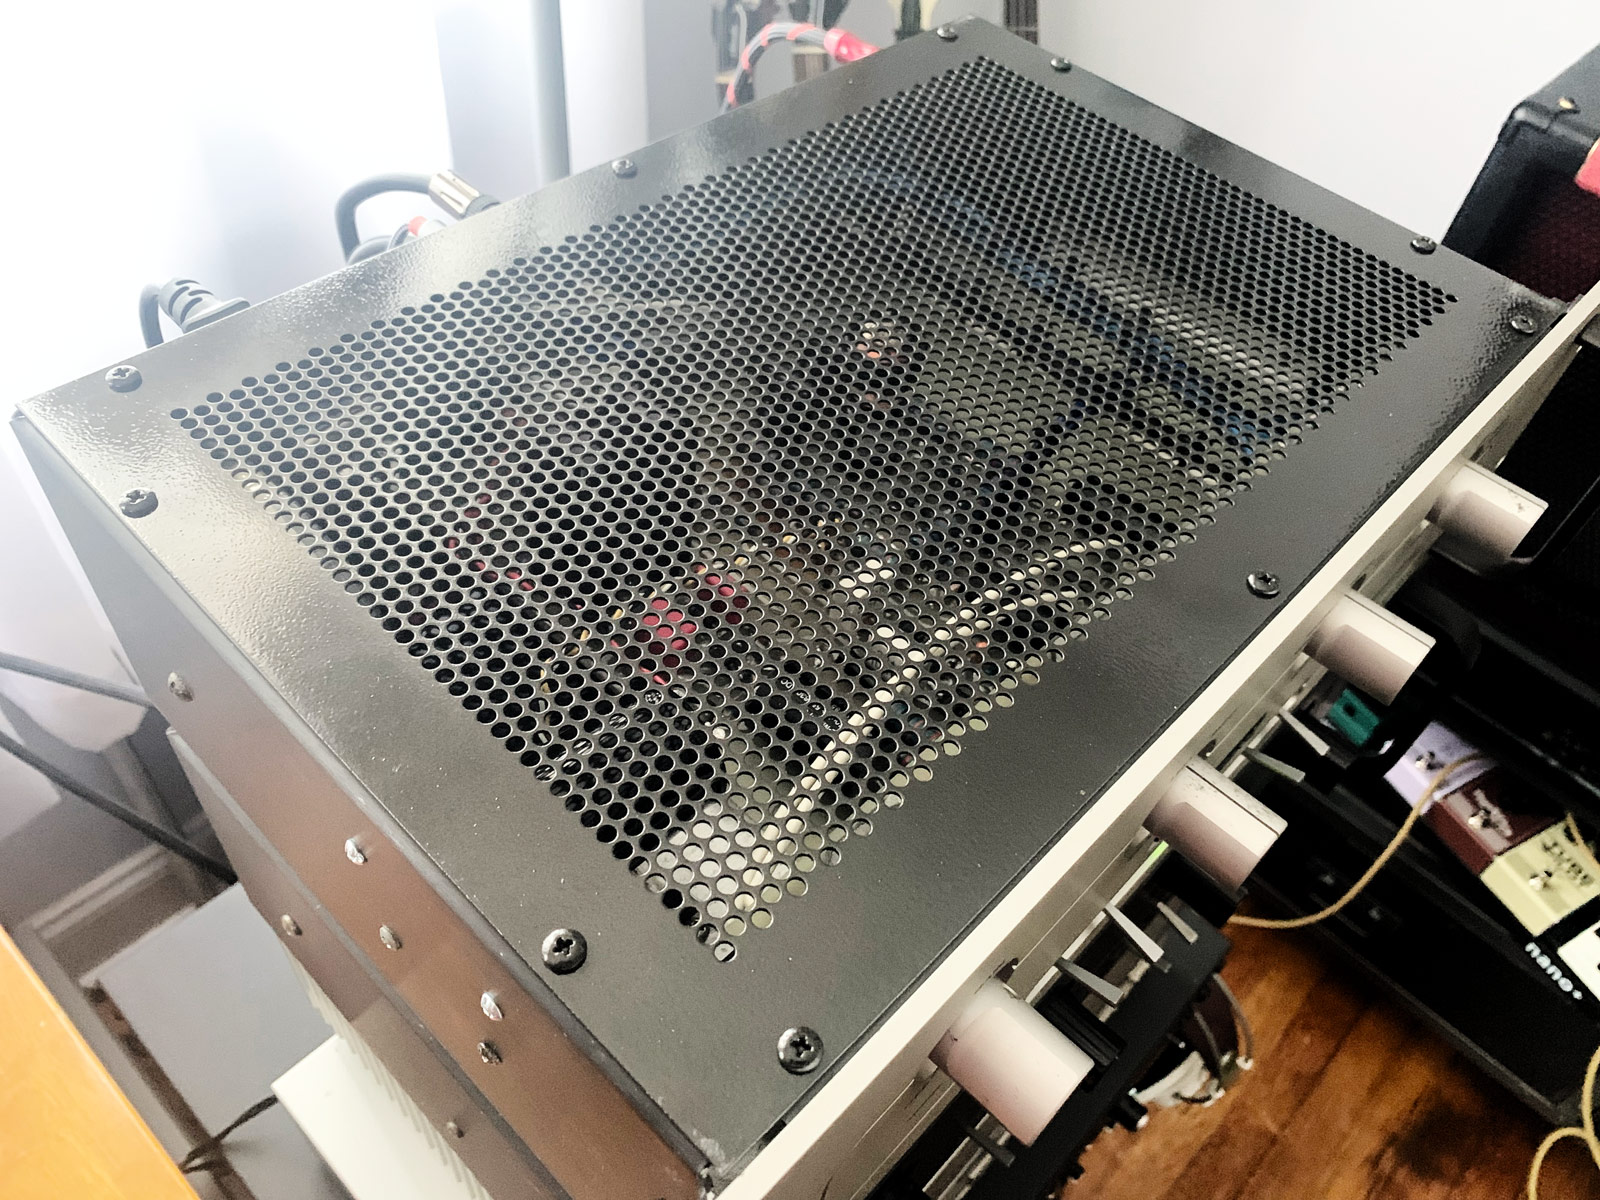
The black LS1 was in mint condition and the silver LS1 arrived in extremely poor, yet working condition, nothing like the seller described. But my plan was to modify one, compare to stock and decide if I could actually improve the preamp. So I kept it instead of returning. It meant the Silver was the one to start with. What that added to the work was a full restoration as well as modifications.
The goals of this were:
- Replace all the electrolytics with new ones as this preamp is pretty old and that is routine maintenance at this point
- Update the audio signal and possibly the power supply capacitors
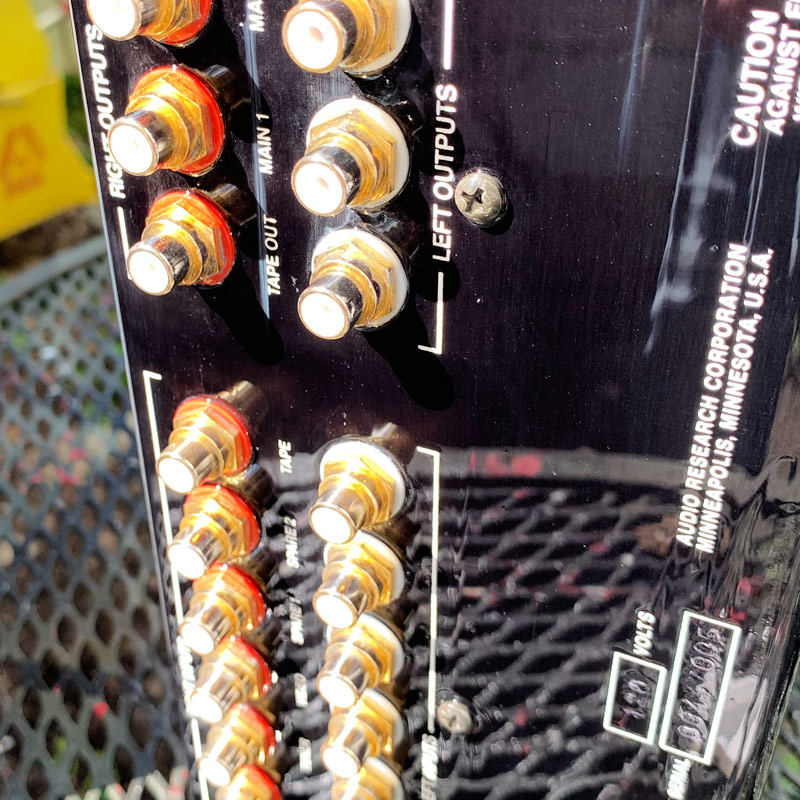
- Not break a single connection of the Litz wire anywhere in the preamp which meant try to salvage the RCA jacks
So having the two identical preamps, this is how the Silver LS1 restore and modification went:
Photos
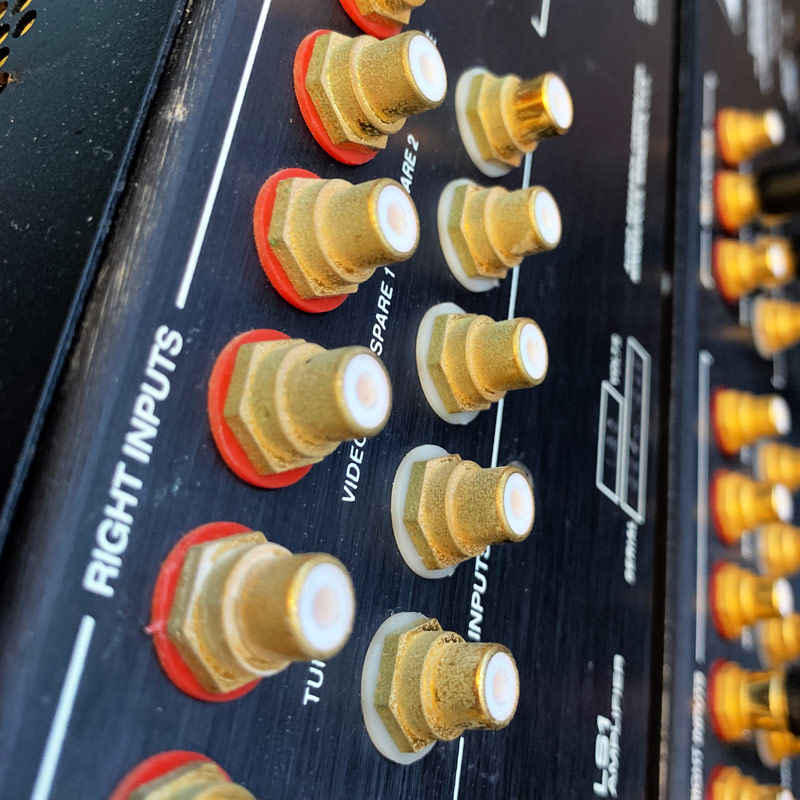
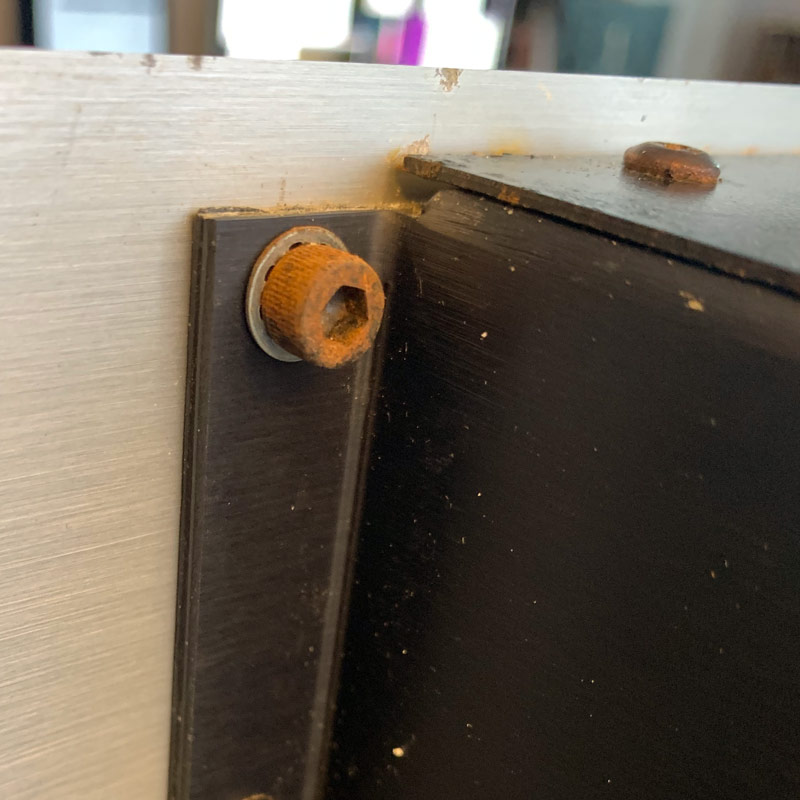
Original Condition – Corrosion on gold RCAs and hardware:
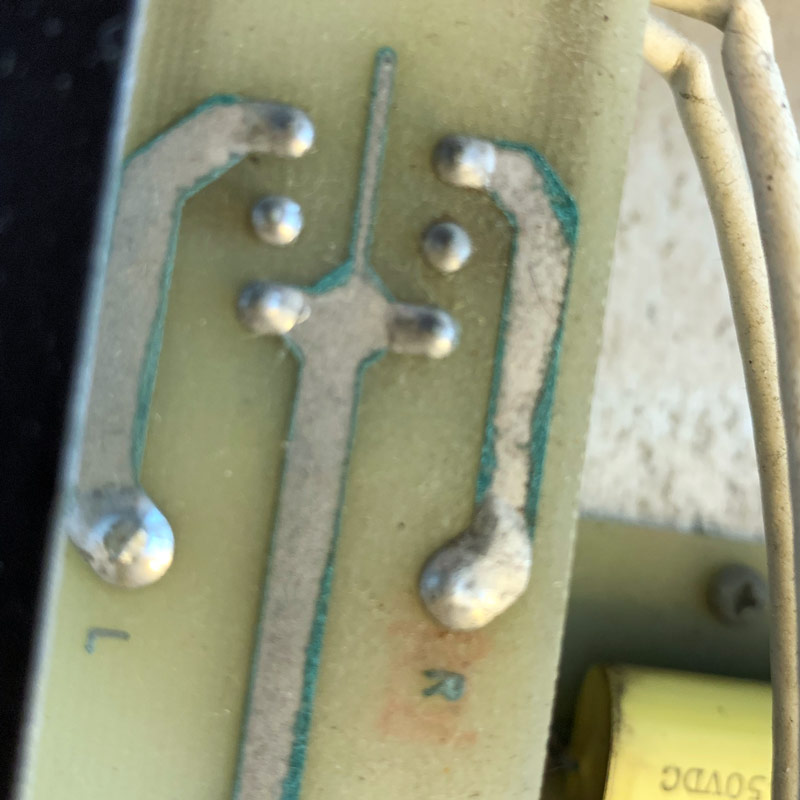
Corrosion on top and bottom covers was extensive; Even the copper traces on the PCB had corroded heavily under the layer of silver audio solder.
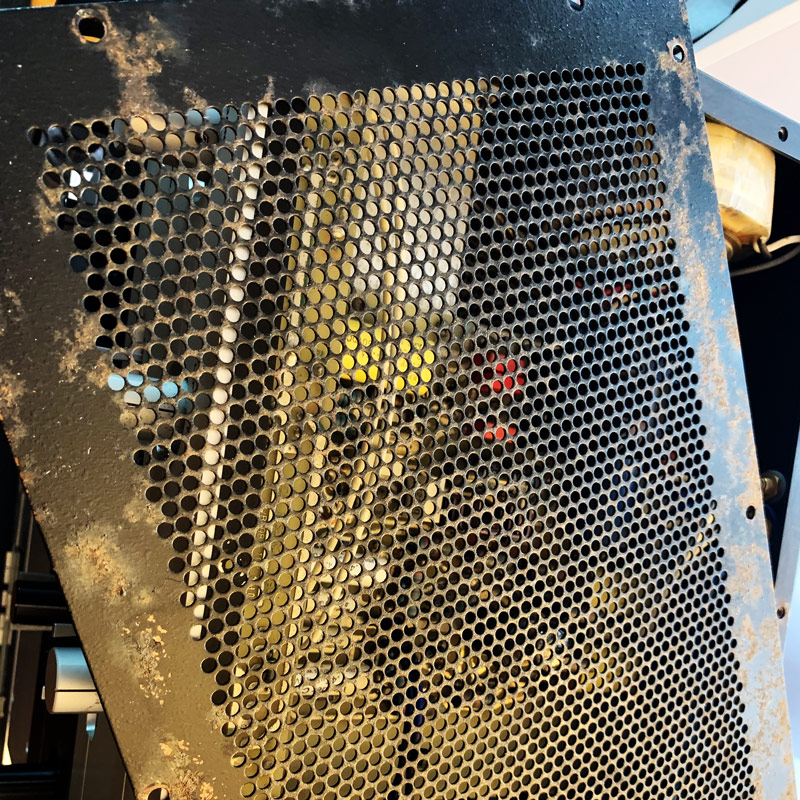
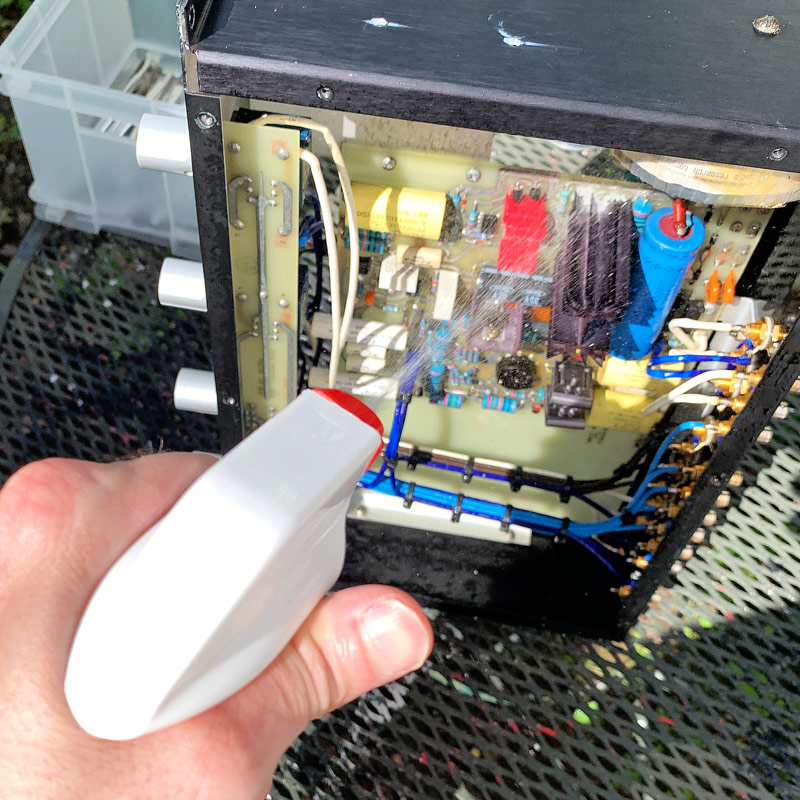
More internal corrosion and 30 years of dirt and dust and gunk.
More internal corrosion and dirt; even the rubber damper rings had solidified as hard as stone.
Restoration Steps
- Polish RCA Jacks with Simichrome metal polish and a rotary tool
- Carefully clean front panel and knobs with bleach spray to remove years of dirt and film
- Clean pots and switches with CRC 2-26 spray - an electrical contact cleaner I prefer to Deoxit and it is way cheaper and available at Home Depot
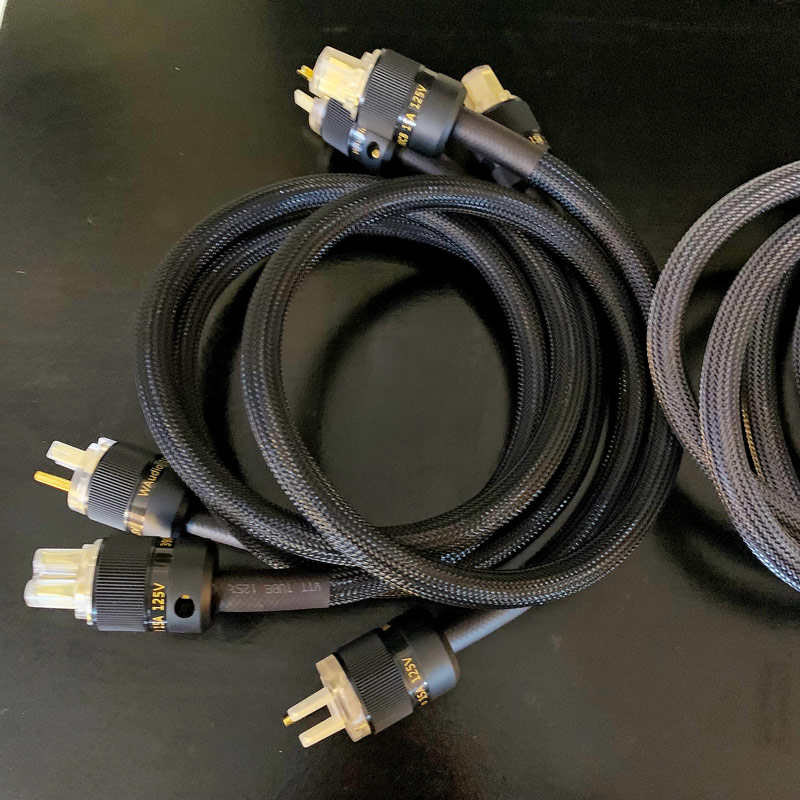
- Cut off hardwired power cable
- Cut and drill aluminum for can capacitor and IEC radio filtered power jack so a high quality power cable may be used
- Sand top and bottom to bare metal to get rid of corrosion and bad paint
- Soak hardware in white vinegar to neutralize and remove corrossion
- Sand handles of corrosion spots and bad paint
- Respray the top, bottom, handles and hardware with black rust inhibiting paint
- Blow out as much aluminum bits and dirt as possible with canned air
- Sprayed 32 oz white vinegar through out preamp and scrubbed with acid brush to neutralize corrosion
- Sprayed with 32 oz 91% isopropyl alcohol to work on dirt and oil
- Sprayed with multiple cans of CRC Lectra Clean and Contact Cleaner to work on dirt and oil
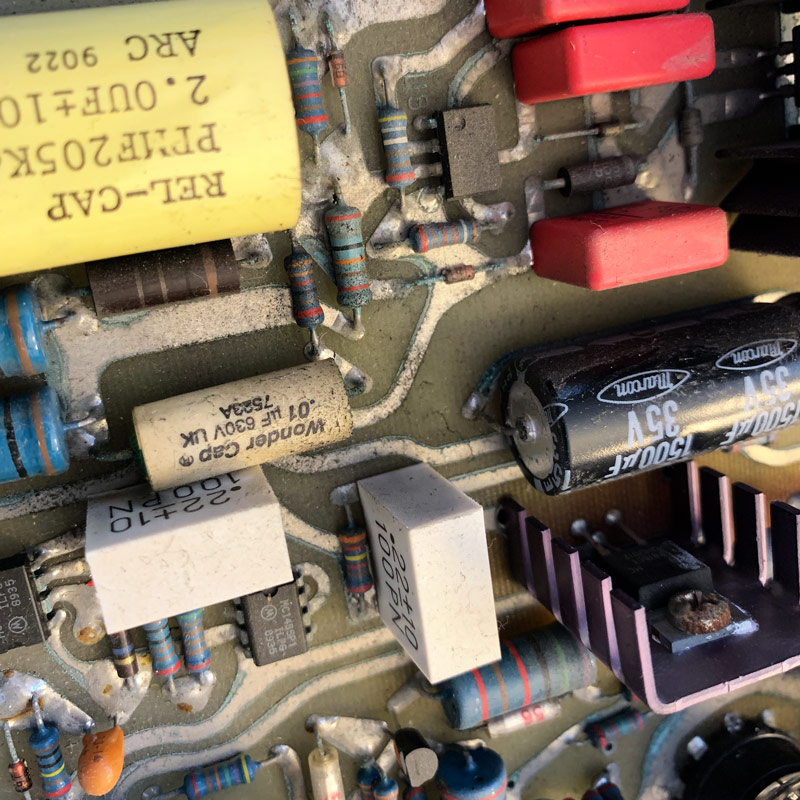
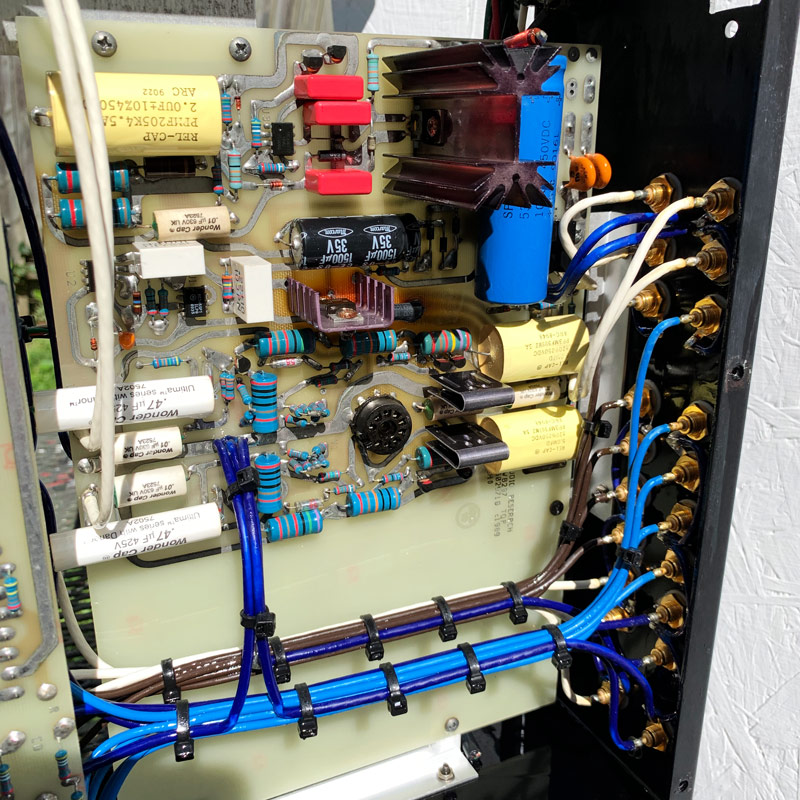
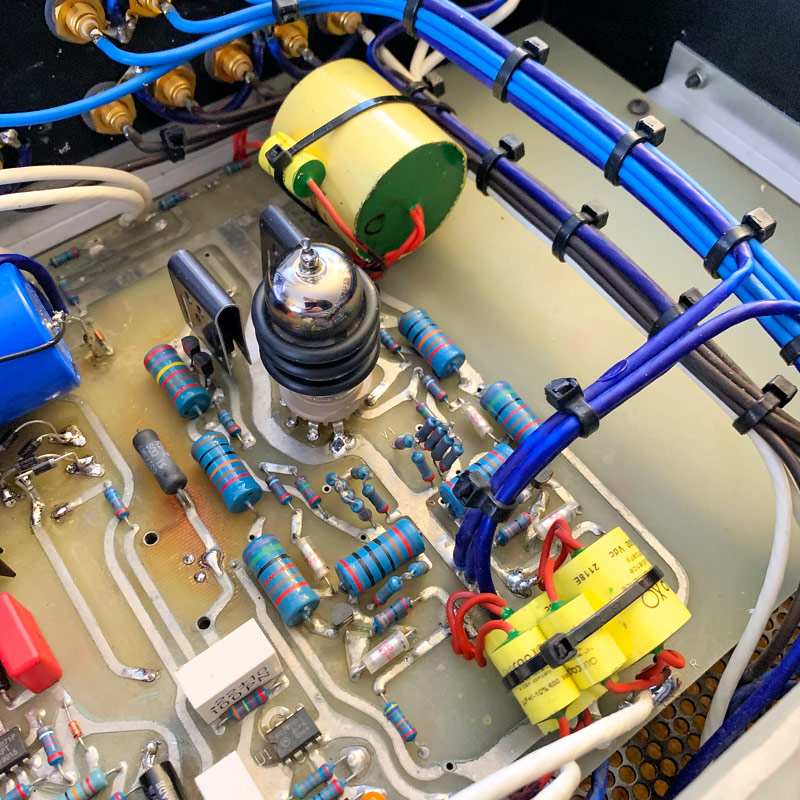
- Replace all Rel Cap and Wonder Cap with 630V Solen Fast Caps (metalized polypropylene) in the power supply section and Dayton (film and foil) 250V/400V capacitors in the audio path - the capacitor in regulated suppy was bumped from 2.0uf to 4.7uf for better regulation and the last output cap went from 5.0uf to 6.2uf only because of available values. All others are same value.

- Replace the 1N4005/1N4006 diodes with 1N4937 fast recovery 1A/600V diodes
- Replace 1500uf/35V with 5000uf/50V capacitor in the low voltage/heater circuit
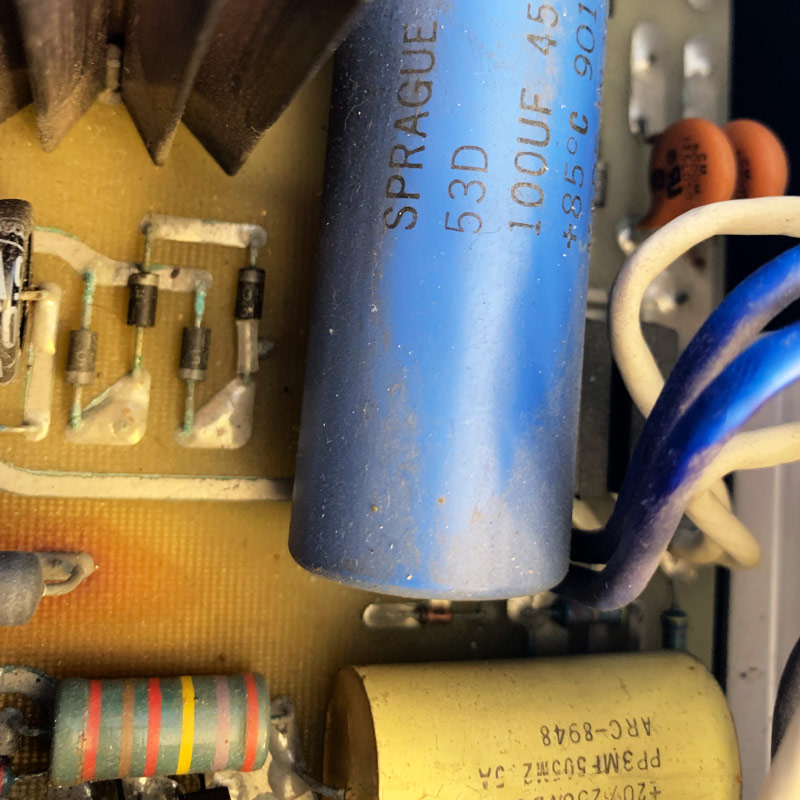
- Replaced Sprague 100uf/450V with Illinois Cap 100uf/450V and added a JJ 100 + 100uf/500V can capacitor; Black got another new and expensive Sprague
- Move the 7815 regulator to the chassis as it gets very hot and it is visible where it darkened the board from heat. It stays very cool in this position.
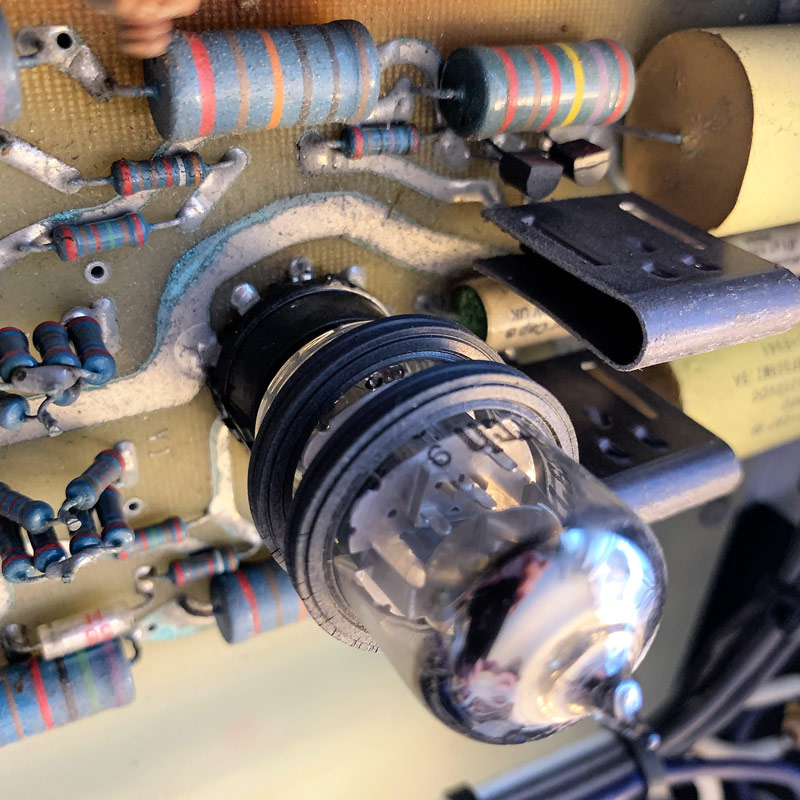
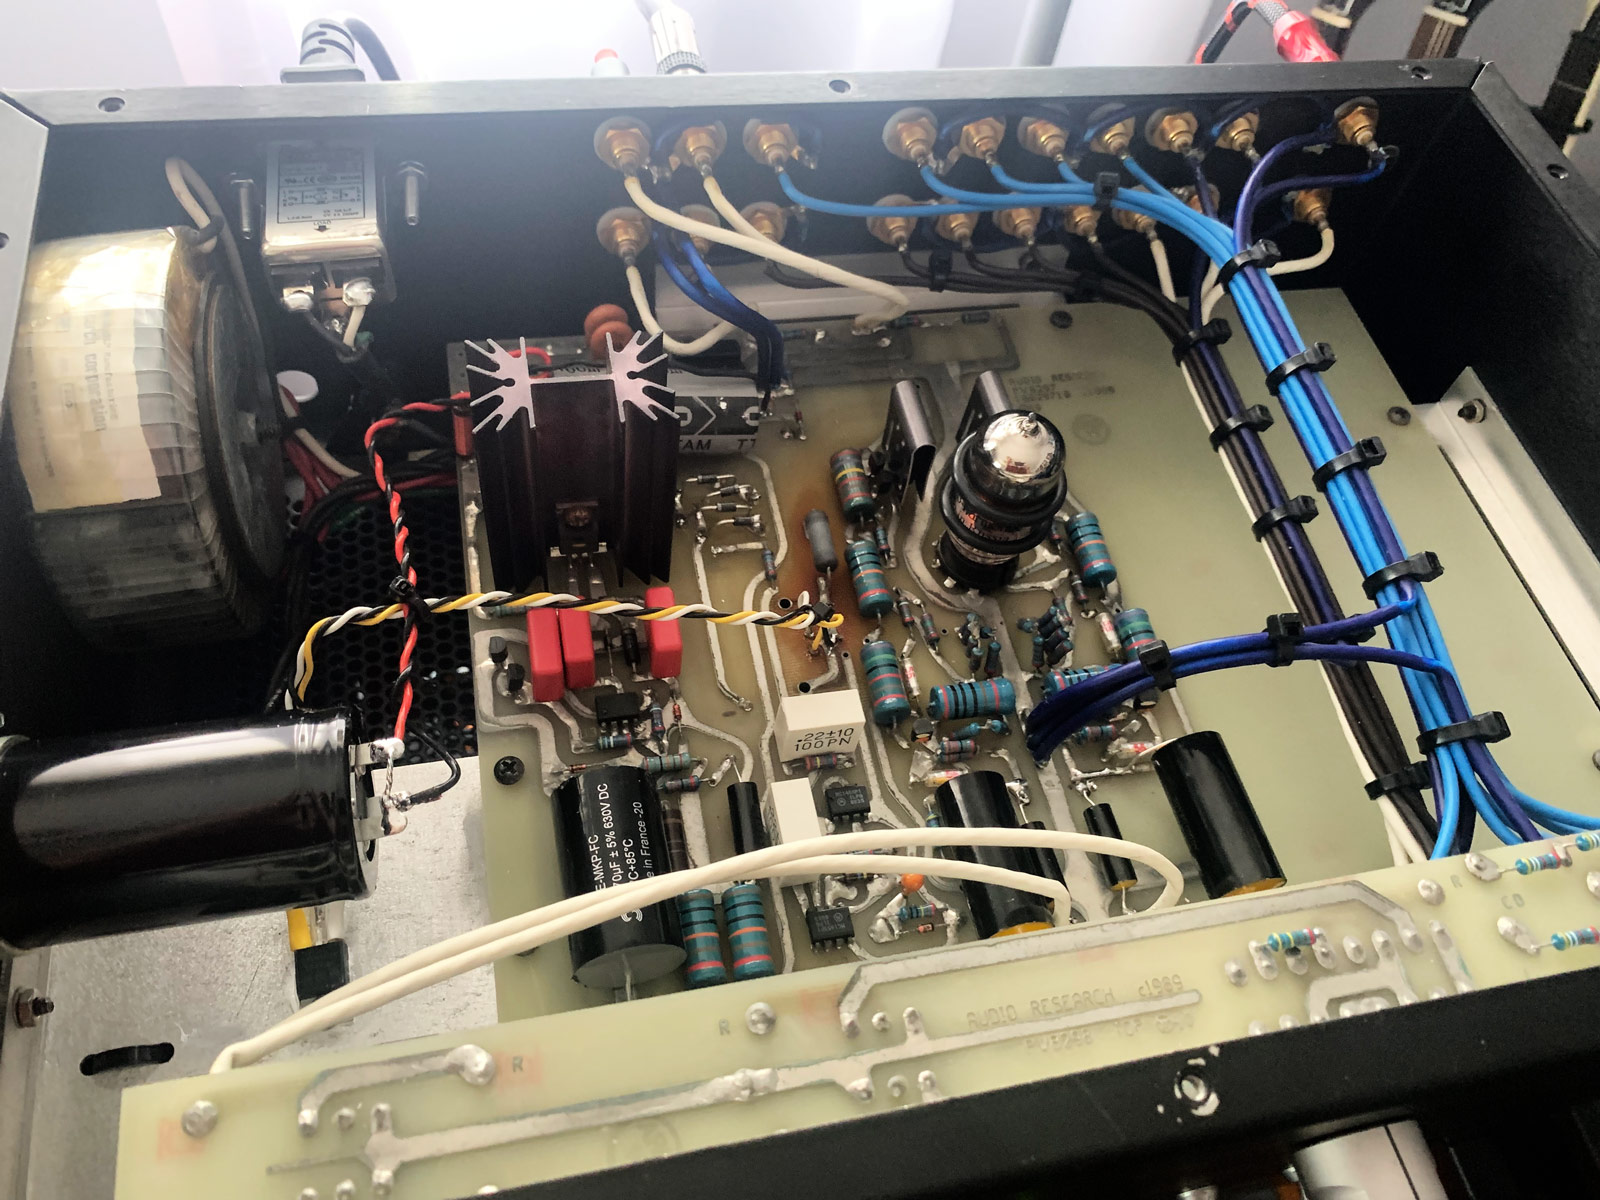
- Replace the EH6922 vacuum tube which is a Russian tube, not even close to a 6DJ8/6922 with a NOS GE 5670W (adapter required) and added silicone tube dampening rings (I have, tried and also use Philips and Sylvania 6DJ8 and 6922 tubes; see below)
So the Verdict?
Well it looks great and is very clean. The corrosion is removed and halted and hard to even see where it was. The sound is a definite improvement over the stock LS1... there is a slightly darker background, there is definitely more top end and air. The LS1 has exceptional low end by default, but it still tightened up nicely, but then again all of the signal did. It is less harsh with the GE tube as well. Most of the LS1 issues that were critiqued in the press are sins of omission (it's an entry level ARC pre) and these changes remedy them IMO. At least to a great degree. There was such an improvement in the sound, even my wife went, "It does sound better!" And she has 0 interest in audiophilia or electronics.
So part 2 is going to be to redo the black LS1 as well, but using premium parts. I am planning on using Auricap XO capacitors and probably will stiffen the power supply even more.
The restoration and changes made a huge difference in the quality of the sound. I was perfectly content to leave the black unit in its mint condition state. But after hearing this one, there is no way I am leaving it stock. All of those old capacitors are coming out of it too. Happy DIY friends!
Final pics below.
Substituting a 5670 for a 6DJ8? What?
P.S. On tubes – this is hard, because the days (years) of terrible Russian, Eastern European and Chinese tubes in the fall of Western tube making are long, long gone. Almost all new tubes are excellent. That said, in some cases, the old ones, if you can find the right ones and in NOS condition, do sound better. They simply spent more time and money with less restrictions on materials back then.
With an adpapter the 5670, 2C51 and 396A are acceptable substitutes for a 6DJ8/6922 vaccum tube or as the Europeans say, valve. However, they are far from equal electrically. From a circuit standpoint, they load almost the same and voltages settle within 10% or so of each other in my testing. Which is what matters in worrying, "will my amp will blow up?" No external components will be taxed or run outside of specs. But strictly speaking on the electrical properties, there is quite a bit of difference in the 2 tube families when operating. Depending on the circuit, they may or may not be a good substitute. In the case of the LS1, they work just fine.
So why are people using the 5670 with an adapter anyway? Well, New old stock (NOS) 6DJ8 and 6922 are getting hard to find, and in 2021 can run you, $75-$200+ USD for a certified single NOS tube from a reputable seller. The 5670 was used extensively in aviation and the military and as such, NOS examples can be found for as little as $5 USD. That is a big difference. Especially if they can be considered equivalent.
So how do they sound? In the LS1, the Philips 6DJ8/6922 and the Western Electric and GE 5670/2C51/396A sound very close to identical. The Sylvania 6DJ8/6922 stands out as the best in my system. Take that to mean nothing. The former seems to have slightly less bass and slightly harsher high end, yet more 'air' or 'space.' Some call it 'soundstage.' The latter Sylvanias seem to have a stronger bass output and slightly rolled off highs.
I am inclined to believe the Sylvanias sound better in my system because of something in my system, but by numbers of tubes tested... I believe the modern tubes from Europe, Russia and China and USA NOS 5670/2C51/396A are probably closer to representing the actual manufacturer specifications. The Western Electric 2C51/396A are the most expensive tube here, yet sound like $5 General Electrics. In your system, it could be the exact opposite. That's why tube rolling is so popular and a requirement if you are trying to get the best sound out of your hi-fi. Have fun~!
You can view and interact with this project which originally appeared at diyAudio.com
Part 2 is an Audio Research LS7 preamp restoration and compare. Click here to view.
The Black One? It Looks the Same, with Fatter, More Expensive Caps but, You Know Those Power Cables Did Help
I did the black one as well, with a even stiffer power supply and Auricaps XO as the capacitor replacements. How does it sound compared to the Silver with the 'affordable' caps? Yes, you can tell a difference. It's just that last few percent though. And the cost, was staggeringly increased. Was it clear it was better, yes. Was it mind blowing, no. It was just that little bit more. The difference in cost was astounding given the limited benefit in sound. I am inclined to think modern manufacturing is so good, not only is it good enough for the peasants (a joke), I think think it's good enough for me. After all, my engineering desire has always been to be closer to the music. These days, it's hard not to get there if you know what you are looking for. And maybe it's not cheap, but it doesn't require Michael Fremer f'k you money anymore. It just doesn't. That's the greatest takeaway of this re-build.
*Not pictured. I cut out and replaced both unit's tube socket with a Belton Micalex tube socket.
Now it's on you. Go for it.
